RECIPES
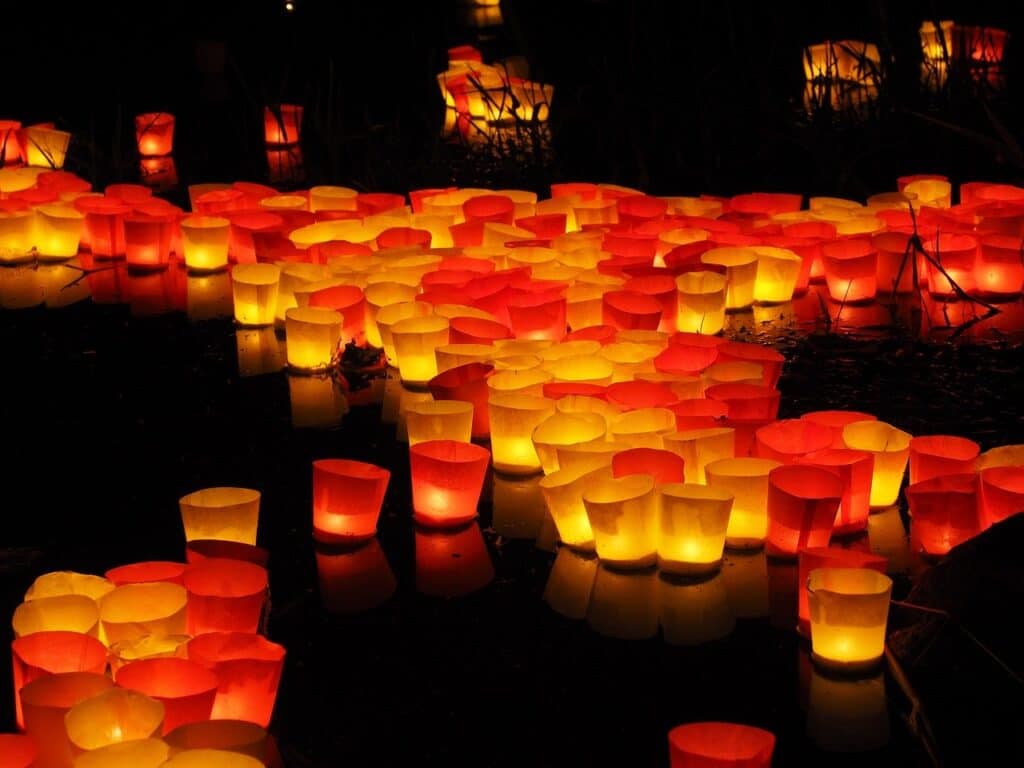
Floating candles
Apr
Will be necessary:
- soy candle wax for standing candles
- container for melting
- wicks
- forms
if you want a colored candle – candle color
if you want a scented candle –essential oils or scented oils
Or our set for making candles + a bowl for melting
Workflow
Melt the wax, but do not boil it. Therefore, melt the wax in a water bath.
! Remember – soy wax can be easily washed off with hot water and a cloth. However, choose a dish that would not be damaged if you do not have time to wash the wax. You can use a metal can – just make sure it does not rust, otherwise you will damage the wax.
If you are making a colored candle, add the paint when the wax has melted and melt it well.
If you are making a scented candle, add the essential oils or scented oils of the last ones. Carefully stir them into the wax. Don’t stir to much – the more bubbles, the less the candle is dense and will burn out faster.
While the wax is melting, prepare the mold. In order for the candle to float, the shape must be conical so that the upper surface is slightly larger, then the candle will float like a float and will not sink.
Place the wicks in the middle of the form. The glue included in the set will make it easier to place the wick in the center and guarantee that the wick will not move when pouring the wax. To keep the wick straight on the surface, place the wick between the two sticks.
When the candles have hardened, carefully remove them from the container, not forgetting that the lower part of the wick is stuck, so do not pull the candle out of the container behind the wick – it can be pulled out!
The 50 g candle must be cooled for at least 3 hours to be 100% sure that it will not be damaged when taken out of the dish.
Cut the wicks ~ 7mm long and place it in a container with water or on a candlestick.
Before lighting, remember to straighten the wicks so that it burns straight and evenly.
Important – Never leave burning candles unattended in a place that is easily accessible to children or pets.